3D C++ Renderer
Source Code
The source for this renderer can be found here:
https://github.com/JoshuaManton/cff
The files of note are the following:
main.cpp
-Main loop of the program, not much code really, mostly just calls into other things.

basic.cpp/basic.h
-Typedefs for ints and floats
-ASSERT() macro
-Custom memory allocators
-Resizable Array<T> implementation
-Hashtable<Key, Value> implementation
-String_Builder implementation

application.h
-Single-header platform and render-backend abstraction.
-Win32 code for creating a window and handling window events.
-DirectX11 implementation, creating textures, buffers, shaders, issuing draw calls, etc.
-Notable things:
    -create_window()
    -WindowProc()
    -init_graphics_driver()
    -create_texture()
    -set_render_targets()

renderer.cpp/renderer.h
-Handles all the heavy lifting for rendering on top of the application.h abstraction.
-Notable things:
    -begin_render_pass()
    -draw_mesh()
    -do_blur()
    -create_renderer3d()
    -render_scene()

assimp_loader.cpp
-Uses the Assimp library to load 3D models.
-Notable things:
    -load_model_from_file()
    -process_node()

math.cpp/math.h
-Vector and matrix implementations mostly.
With that out of the way, let’s get into it! This article is by no means a deep dive into implementation details, more a cursory overview of the features of the renderer with visualizations where applicable.
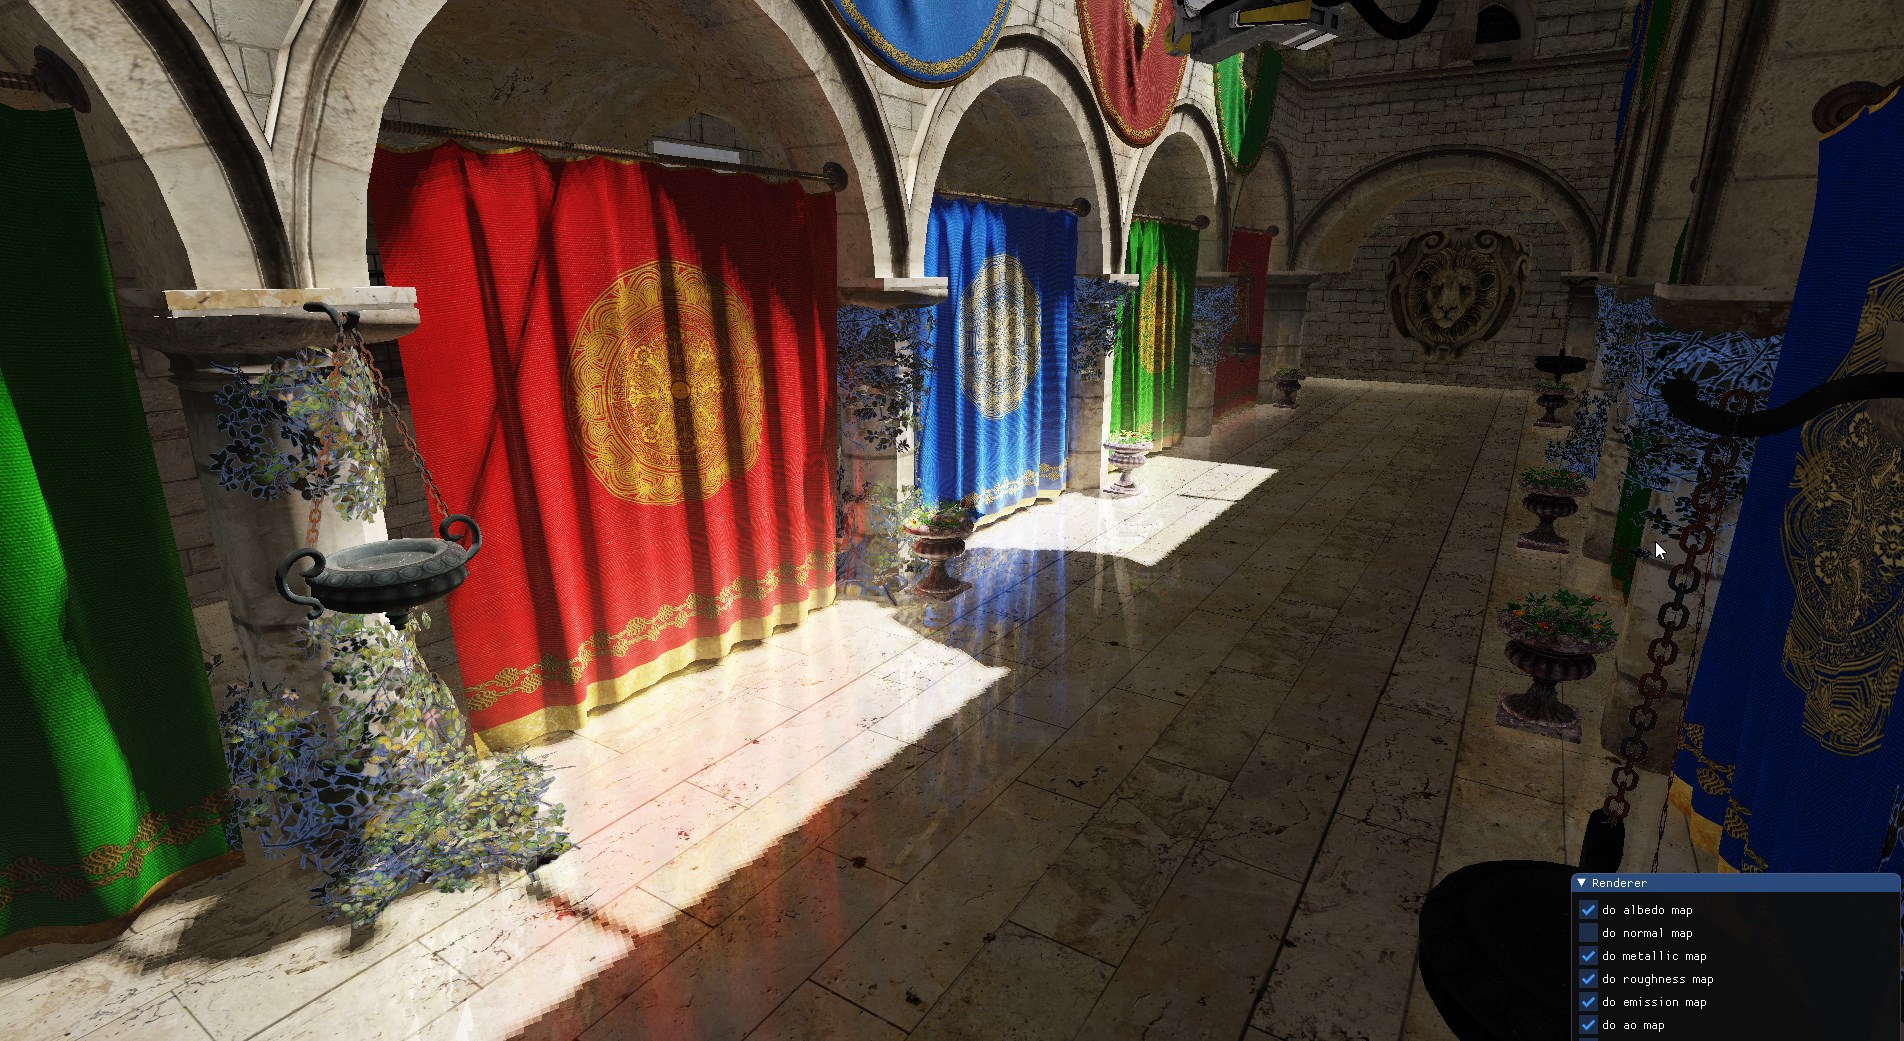
Physically-Based Rendering
All the lighting calculations are done with physically based materials using the standard metallic-roughness model that Disney and Epic Games have popularized. This allows objects to look consistent in different lighting conditions, which the simpler Blinn-Phong model didn’t allow for.
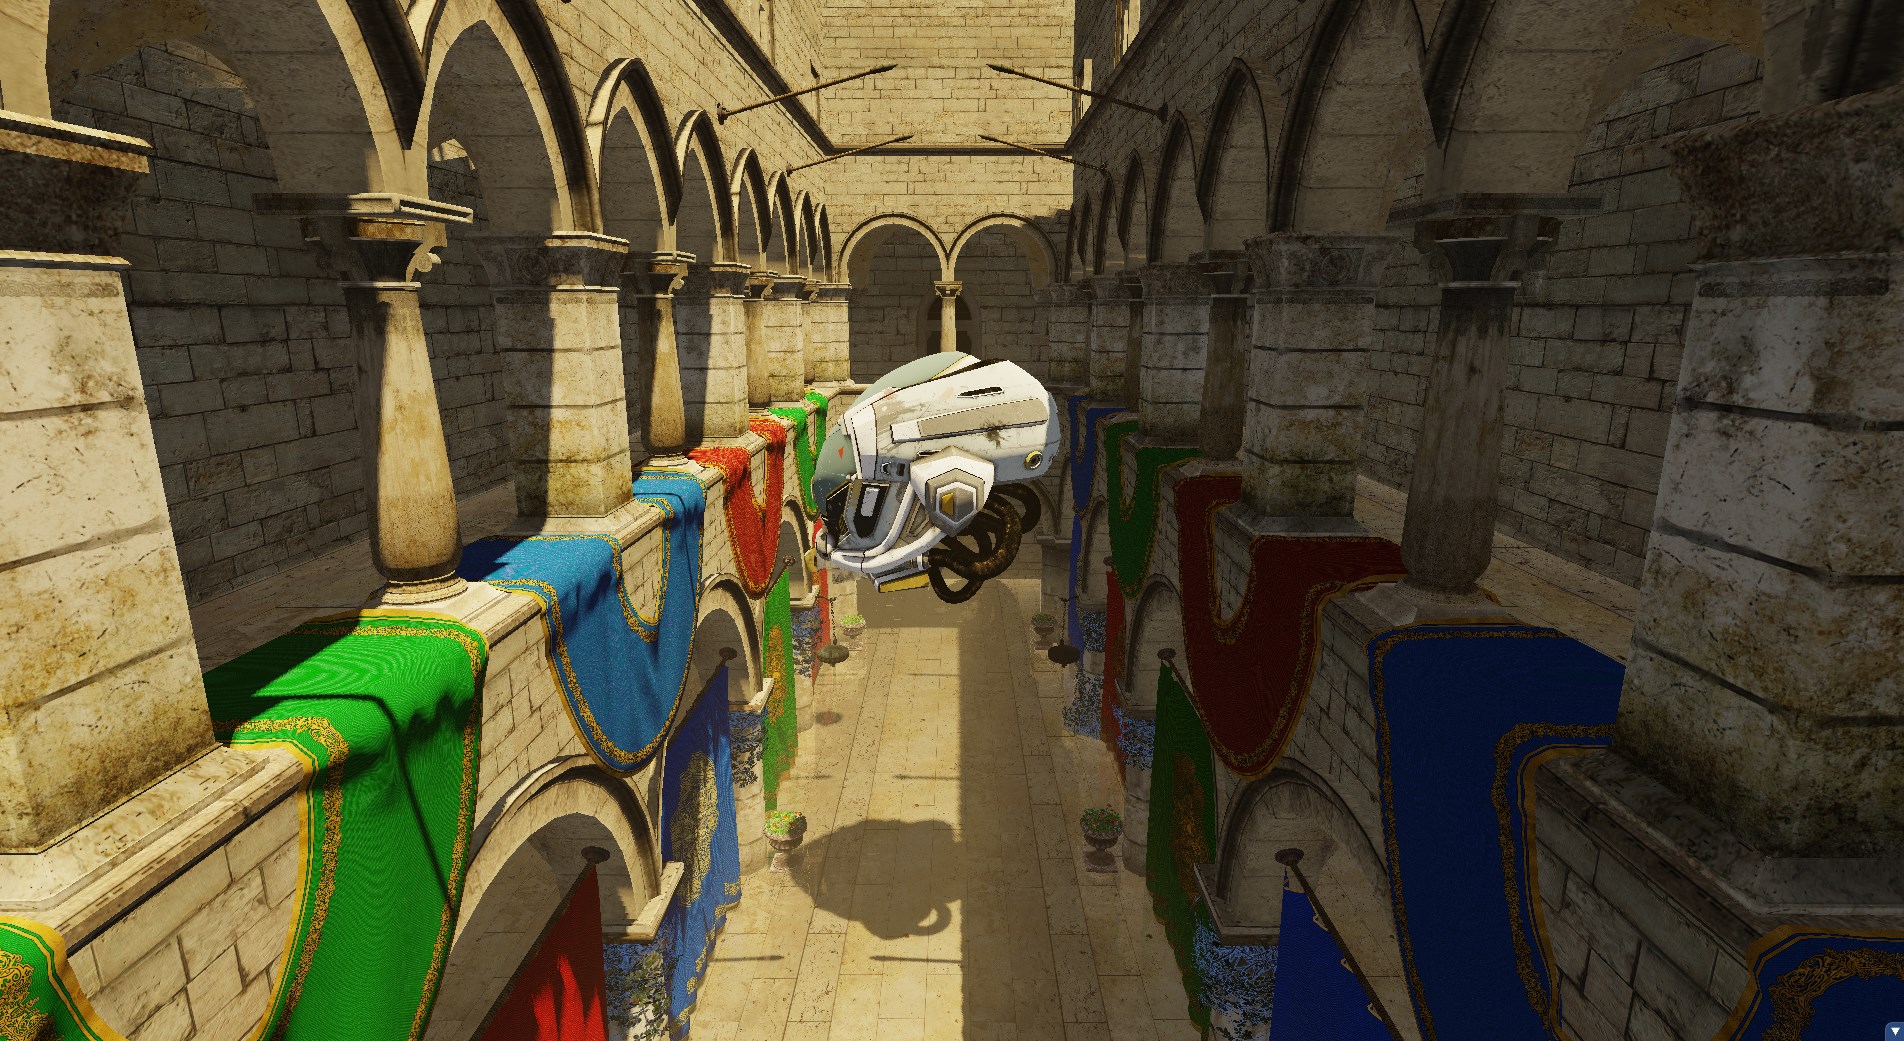
Normal Mapping
Here is a visualization of the scene’s normals with normal maps:
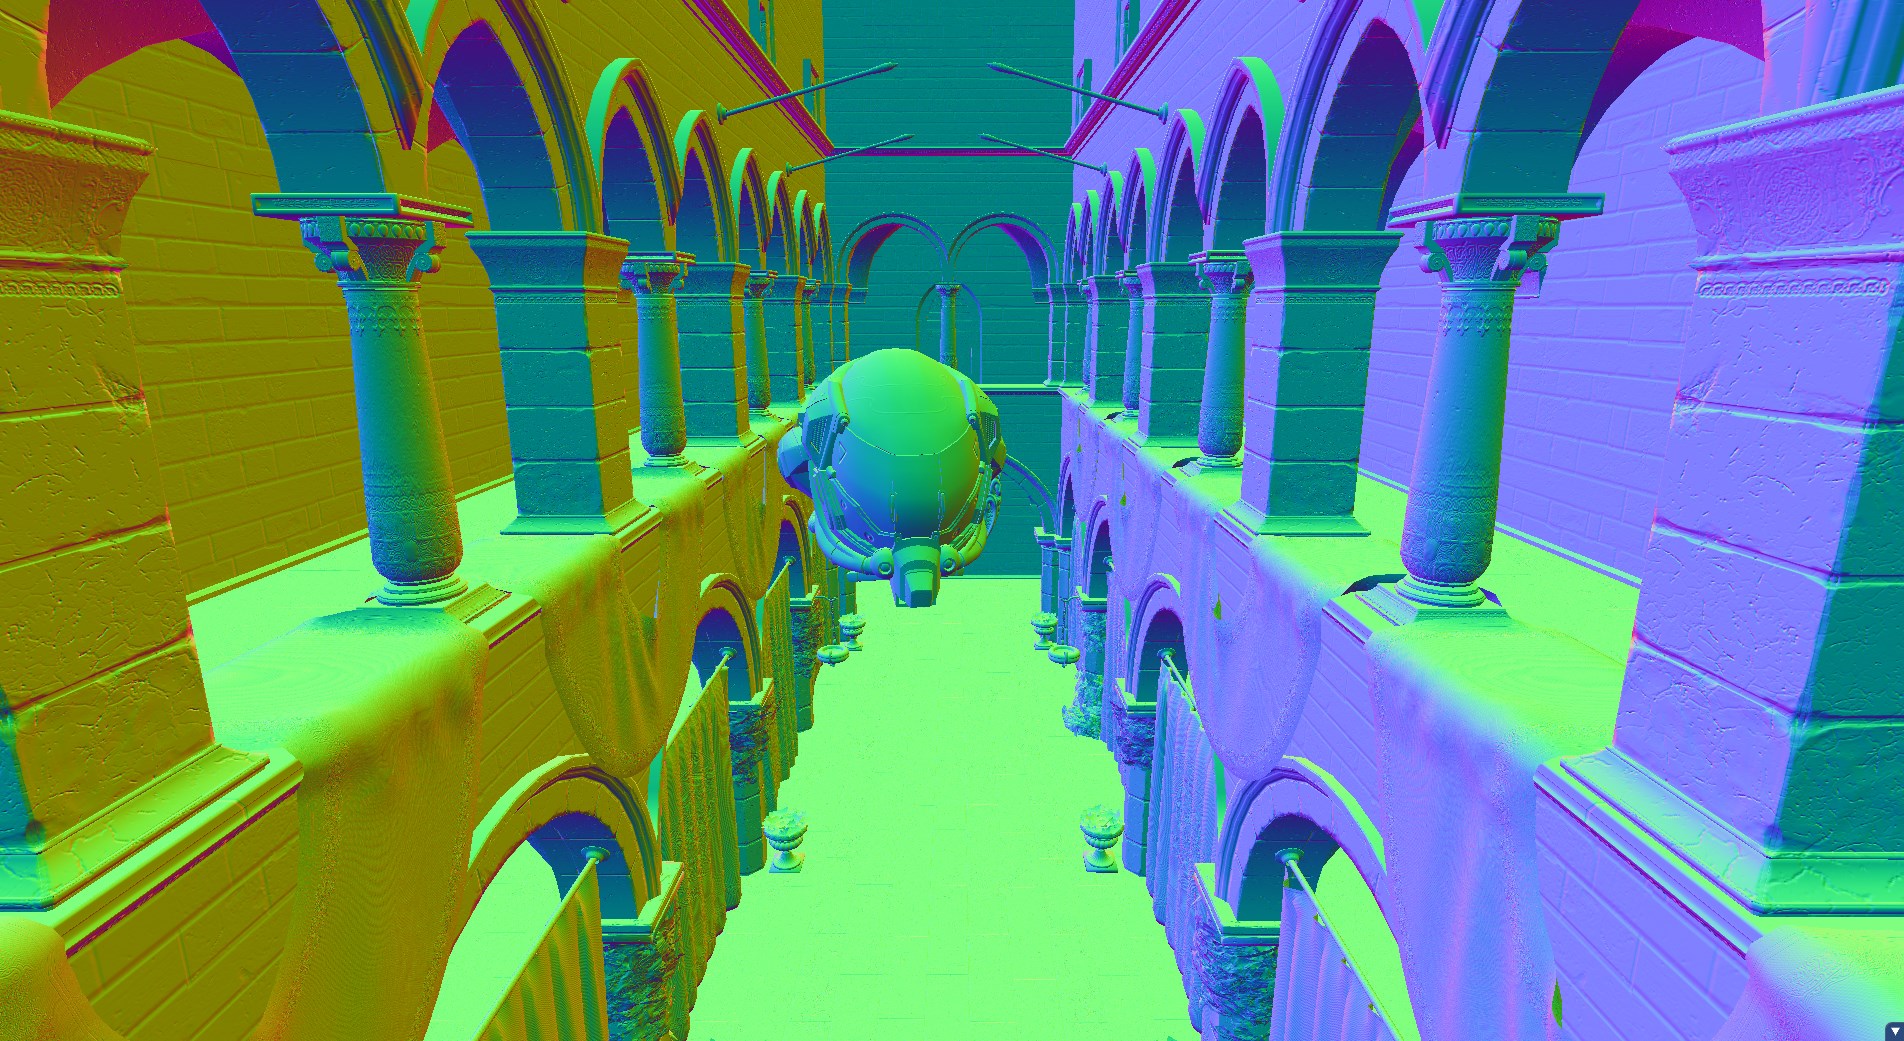
And without normal maps:
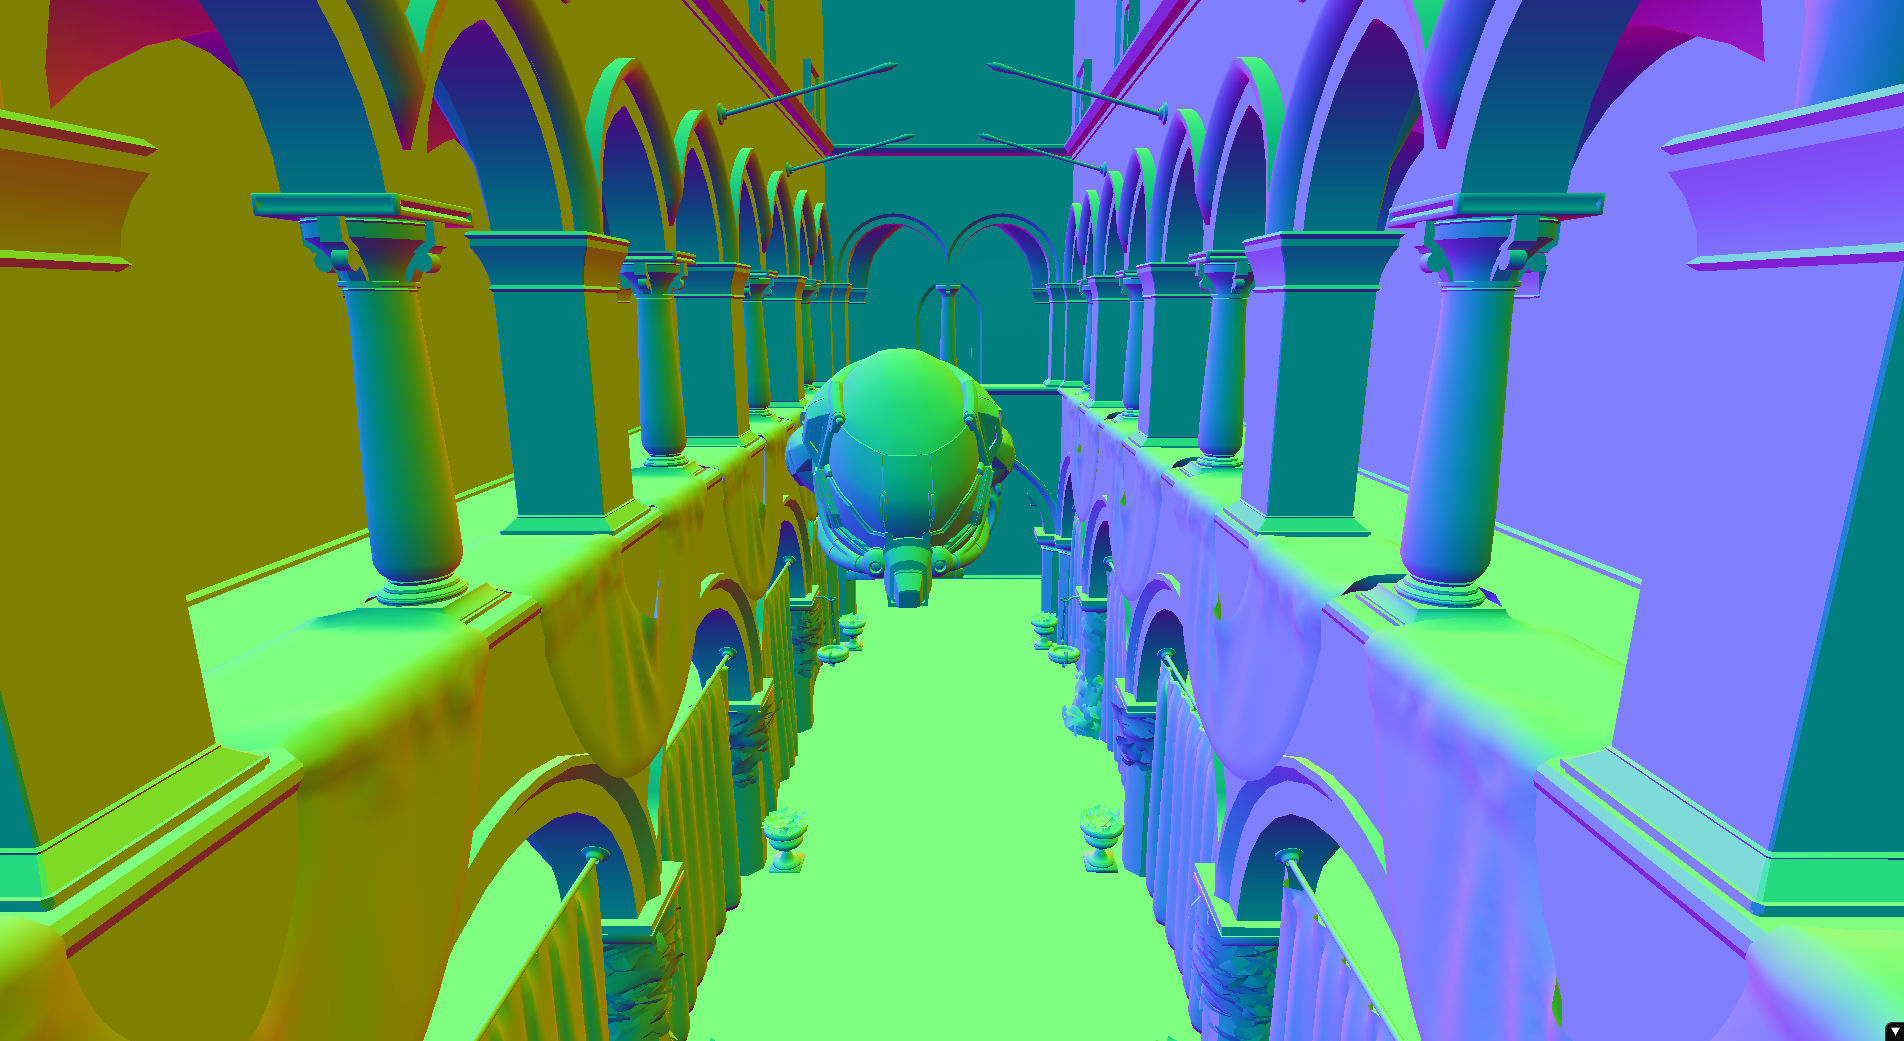
Clearly normal maps add a ton of detail at the low-ish cost of an extra texture lookup and a matrix multiply to orient the normal to tangent-space. Very well worth the trade-off. Though right now there are some nasty Moire patterns in my renderer that become especially pronounced with normal mapping, will fix that in the future.
Here is that same perspective of the scene with normal mapping:
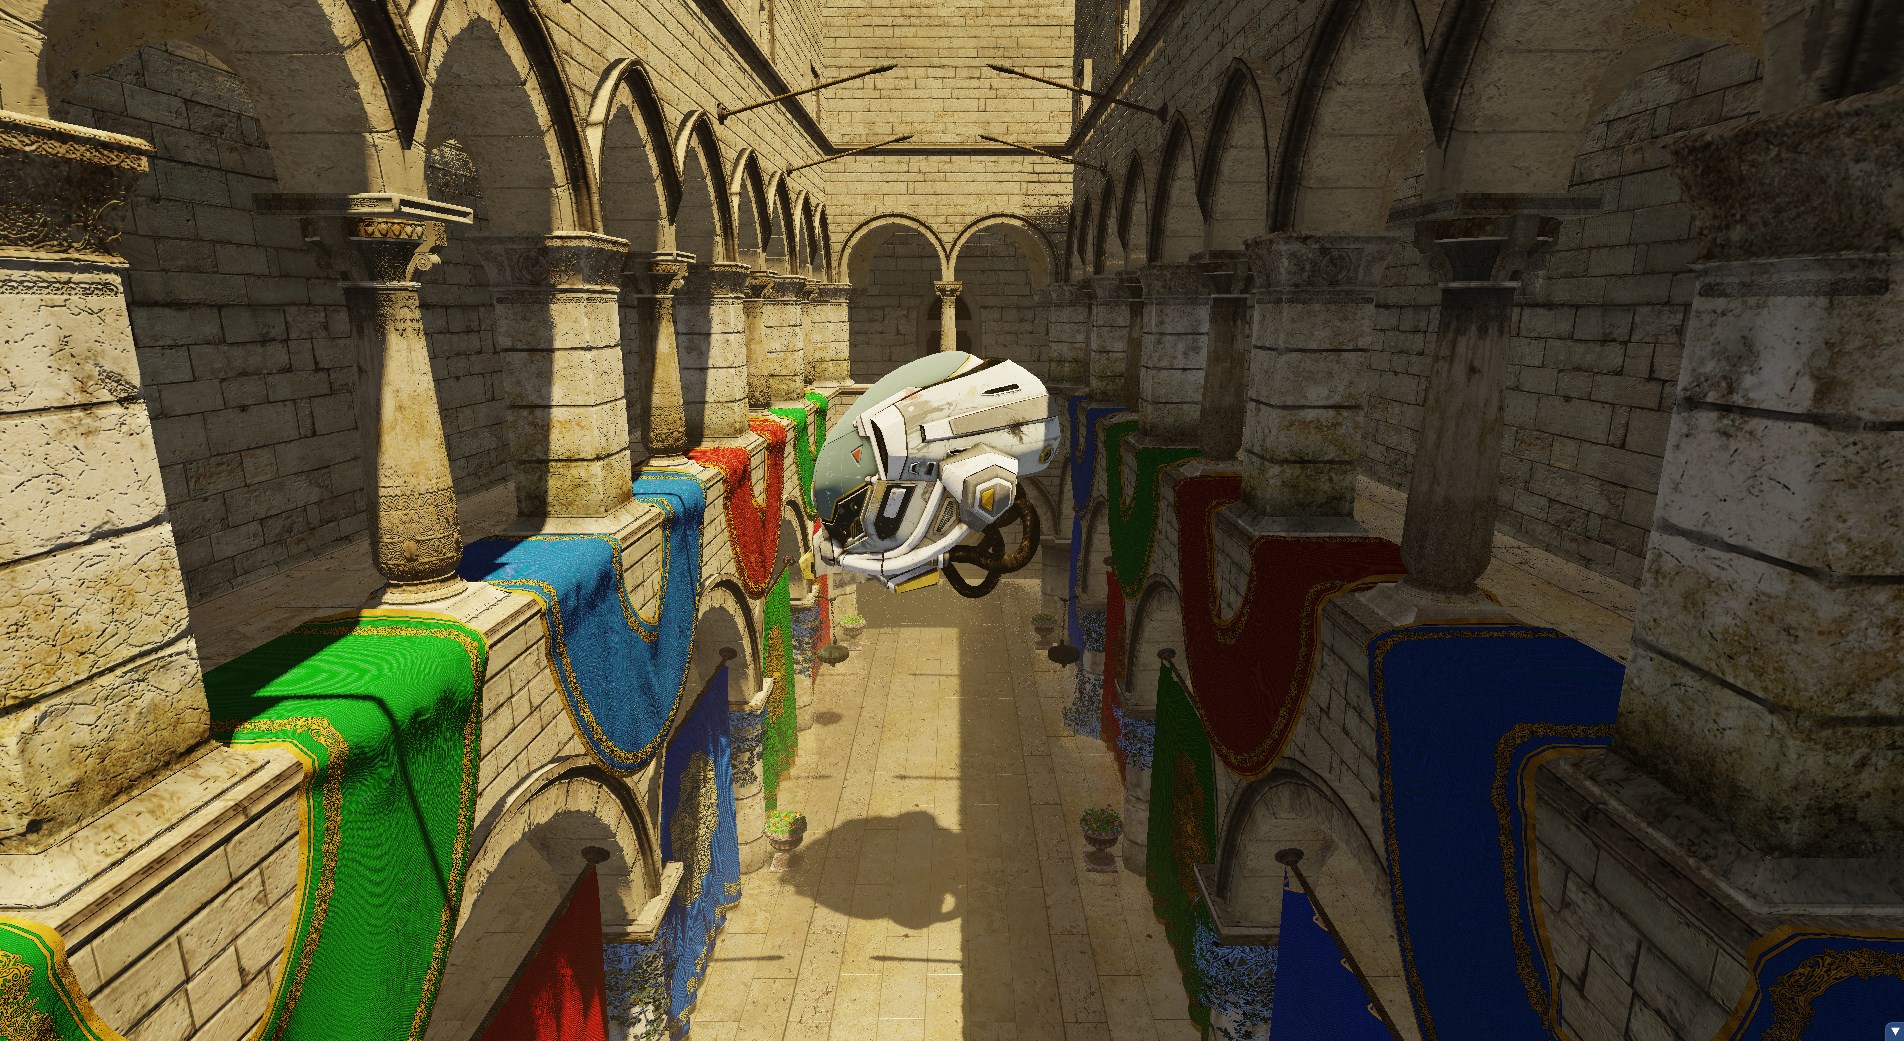
And without normal mapping:
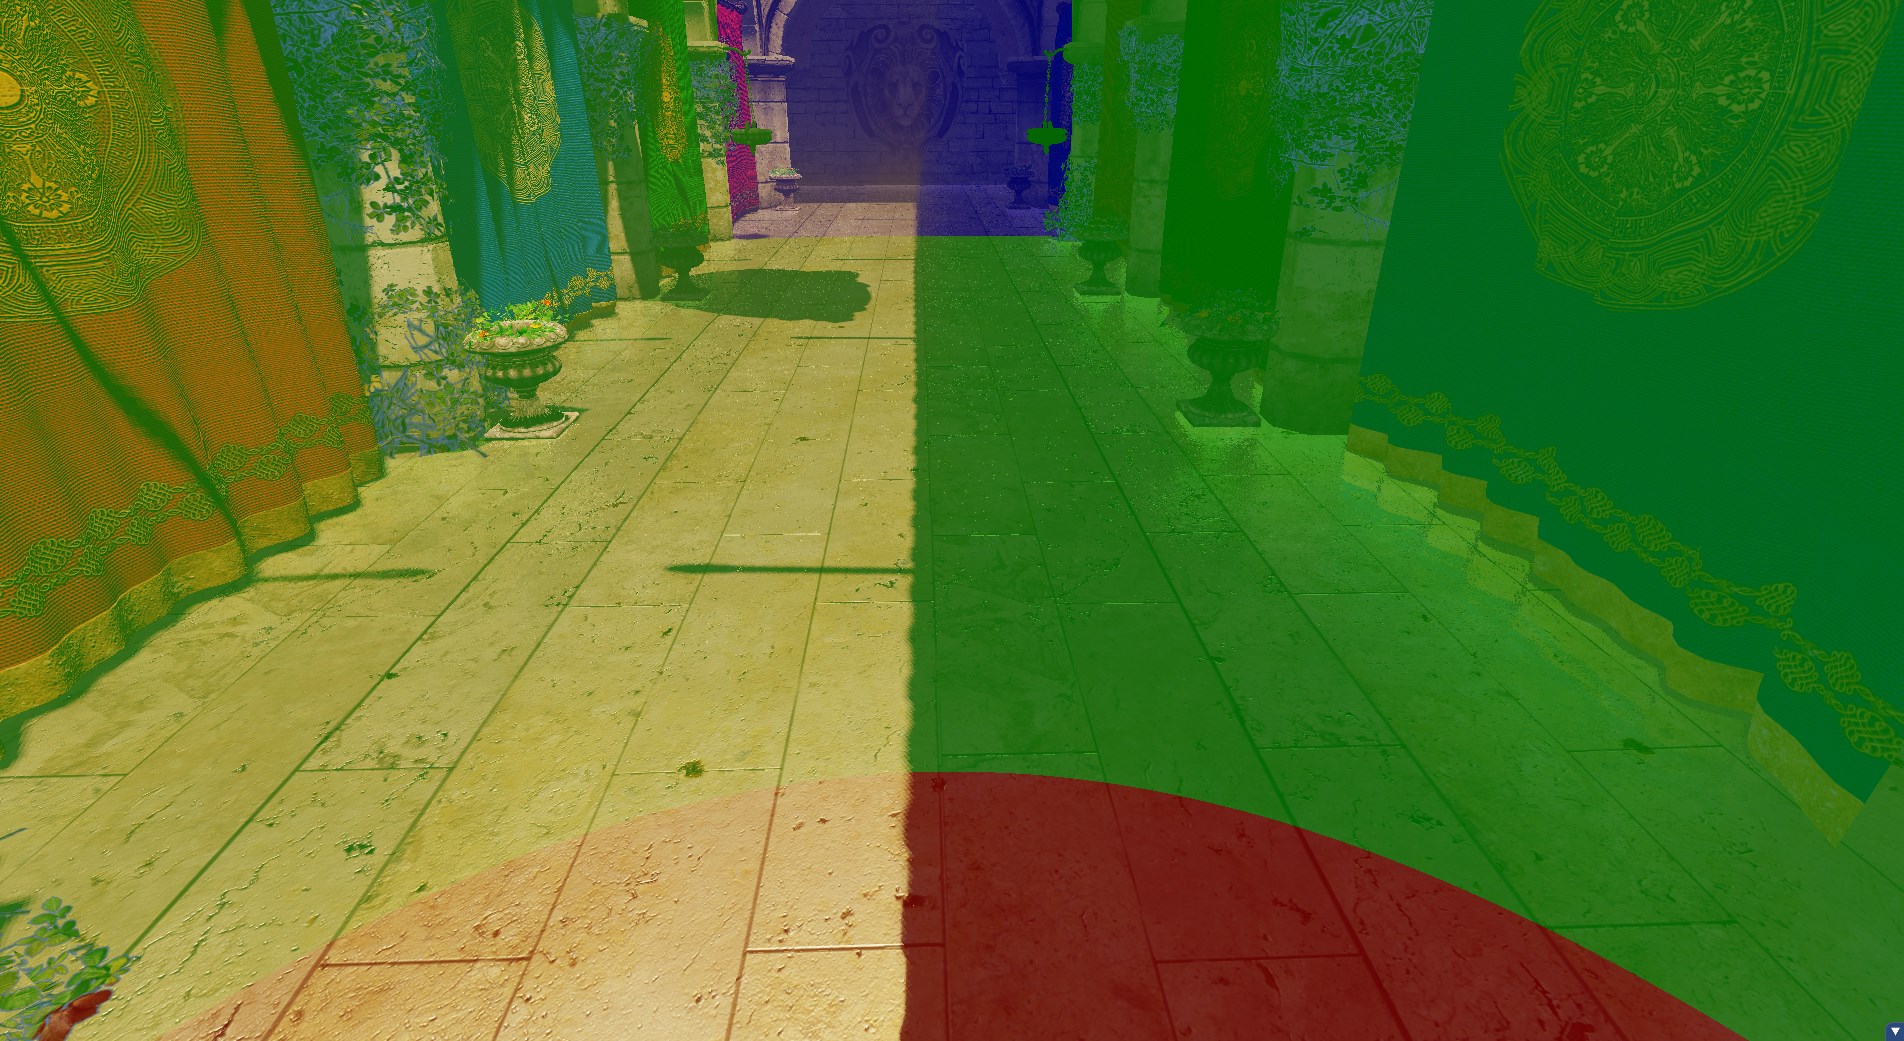
Cascaded Shadow Maps
Pretty standard cascaded shadow maps implementation. I use four 2048x2048 textures for the shadow maps and render the depth of the scene from the sun’s perspective looking at four different sections of the camera’s frustum, then sample those in shader when drawing the scene.
Here is a visualization of the different cascades being used as a function of distance:
And without the visualization:
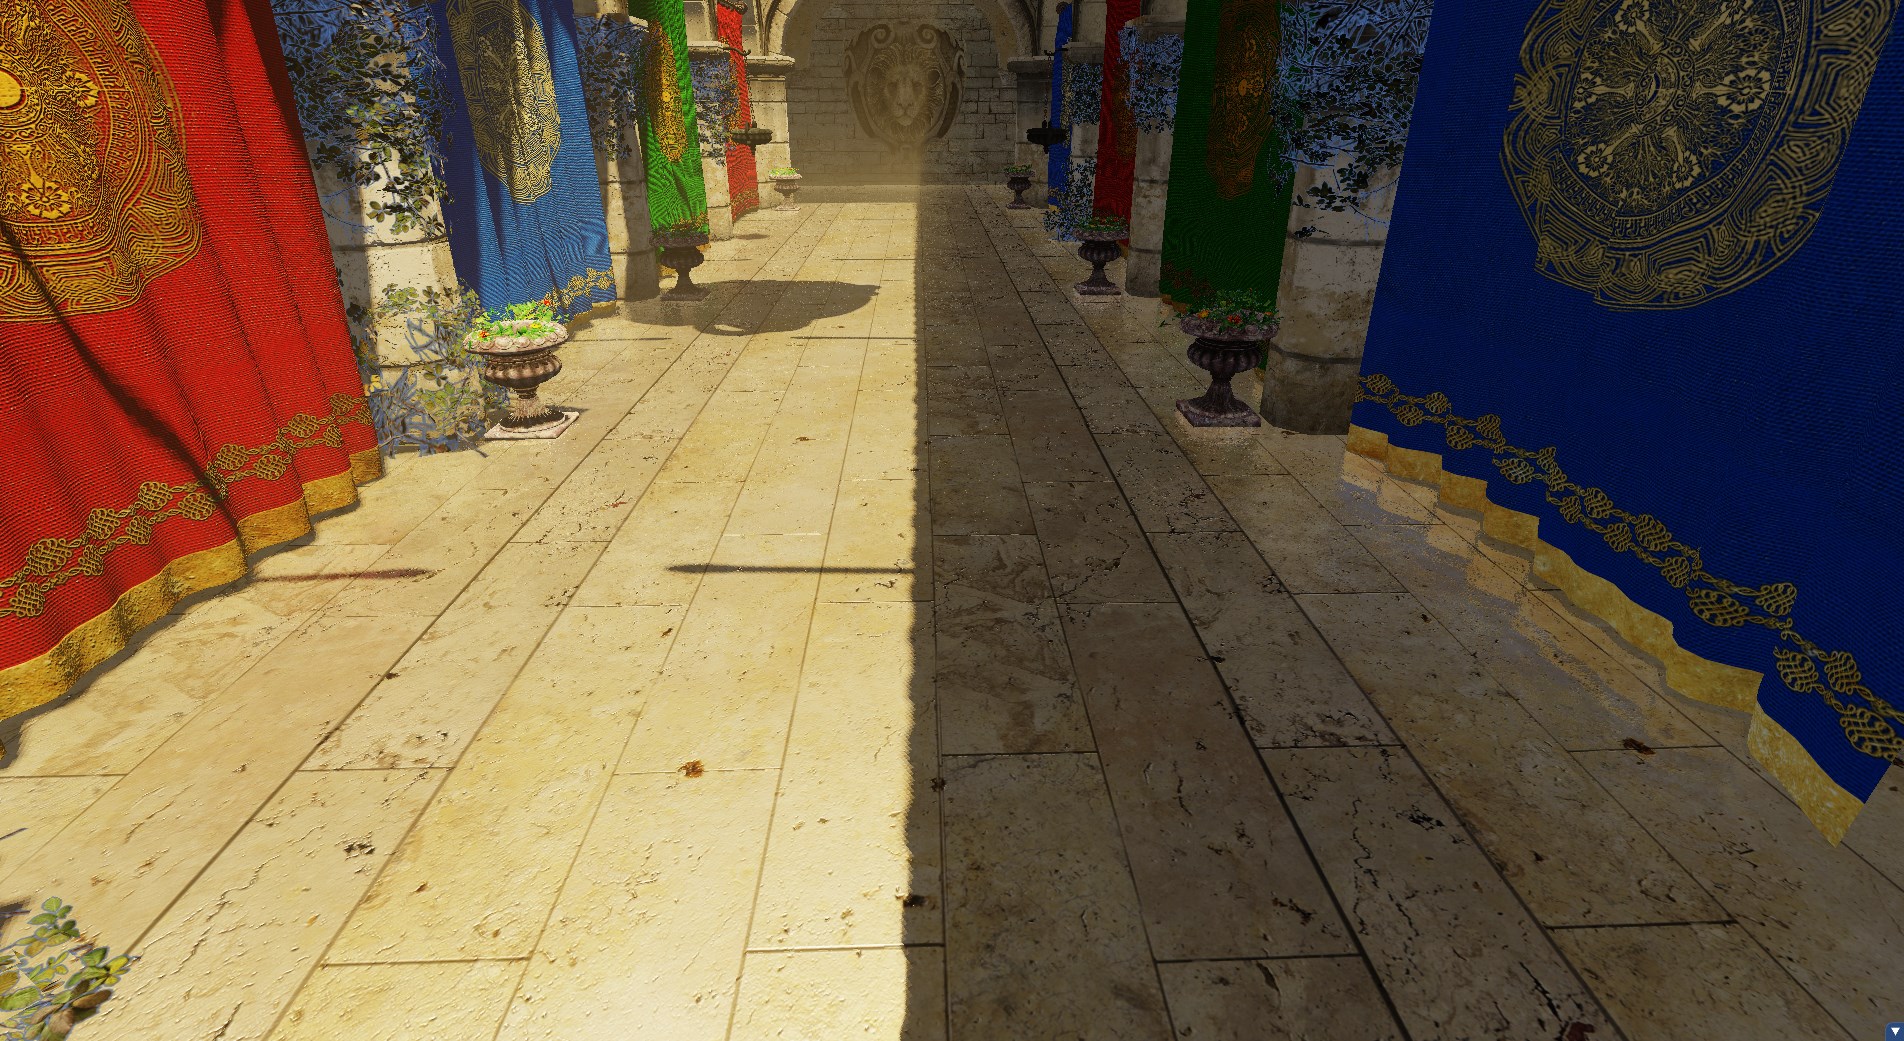
I also do some blending between cascades in the last 20% of each cascade to make the transition smoother which can be seen quite clearly here:

And without blending:

Screen-space Reflections
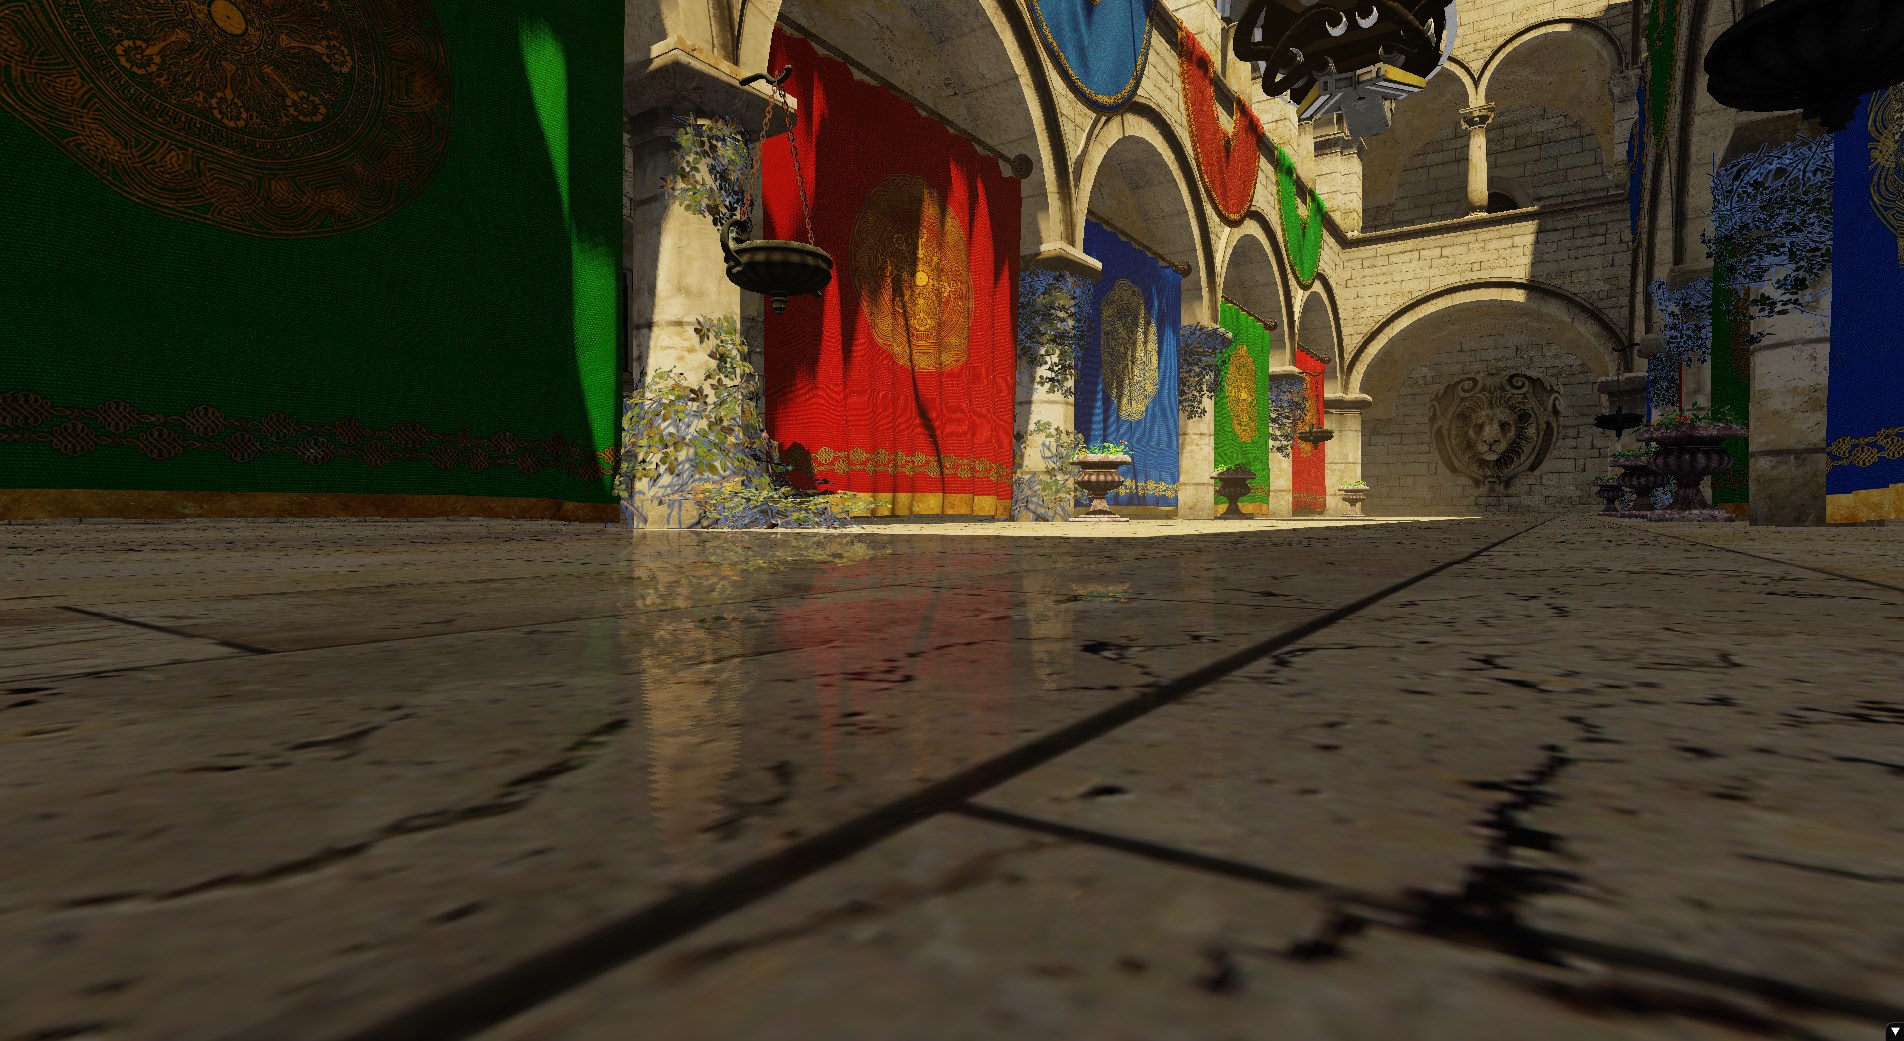
Screen-space reflections are implemented with some light ray-tracing. For every pixel on the screen I reflect the direction to that pixel by its normal and then trace forward until the vector from the camera to the ray position is blocked by some other geometry. This requires a whole bunch of matrix-vector transformations going from world-space to screen-space for each step. There is likely a smarter algorithm but this is where my intuition led me after reading a high-level overview about how SSR works.
Of course, since it’s screen-space, if the thing that would reflect off the surface isn’t on screen then the reflection disappears. Here is the same perspective as above but with the camera tilted down such that the red curtain isn’t on screen:
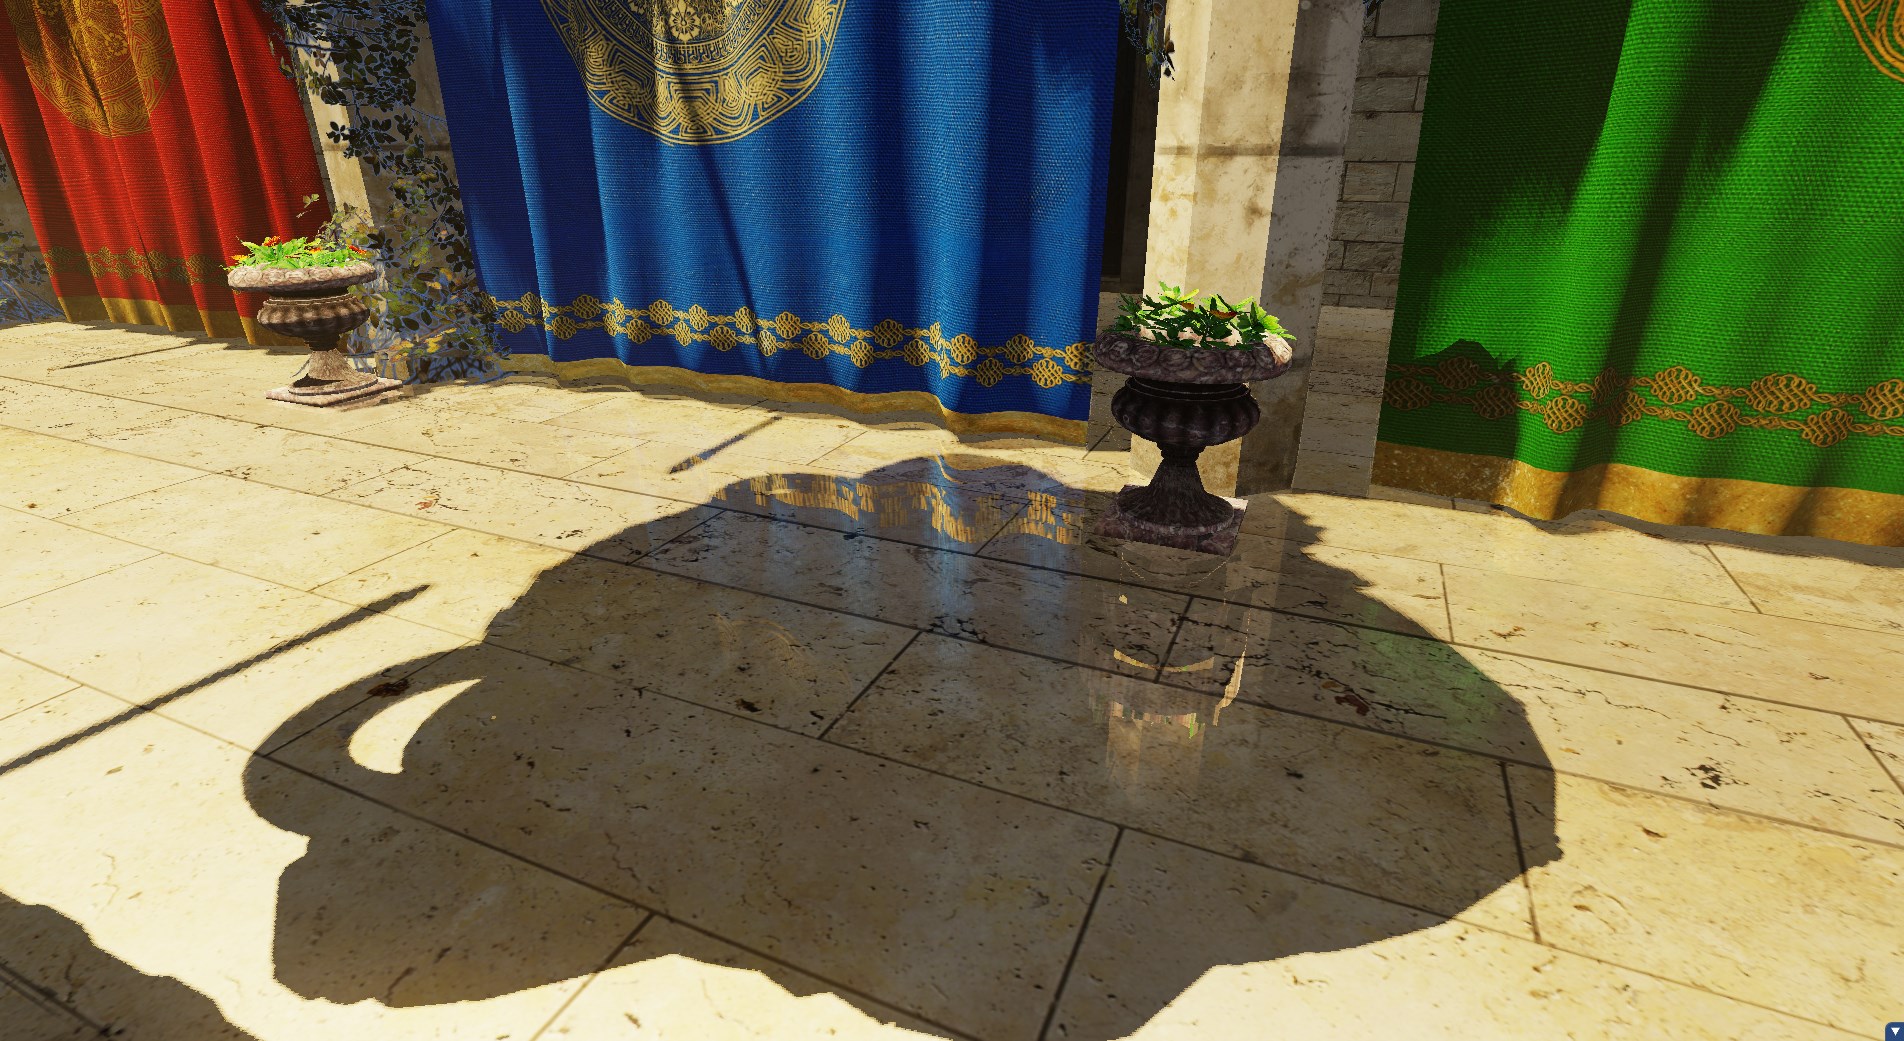
Also interesting is how normal maps change the reflection.
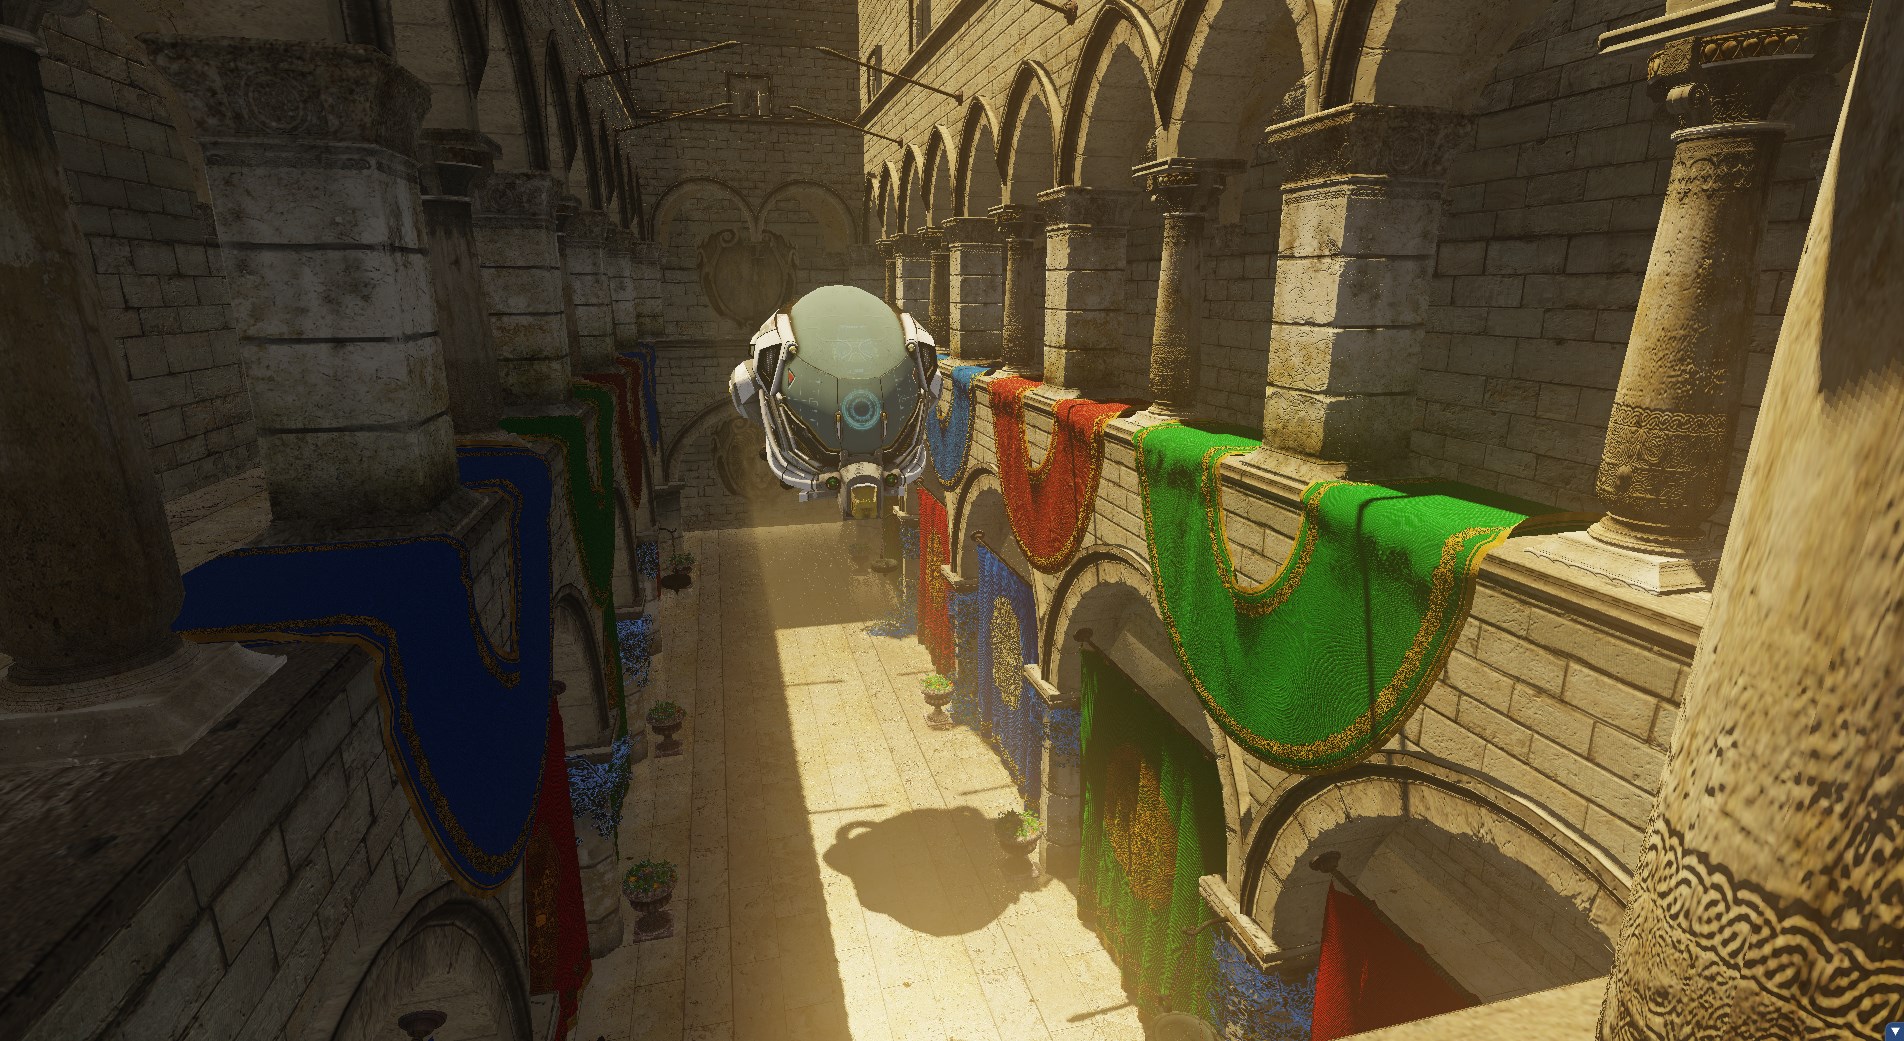
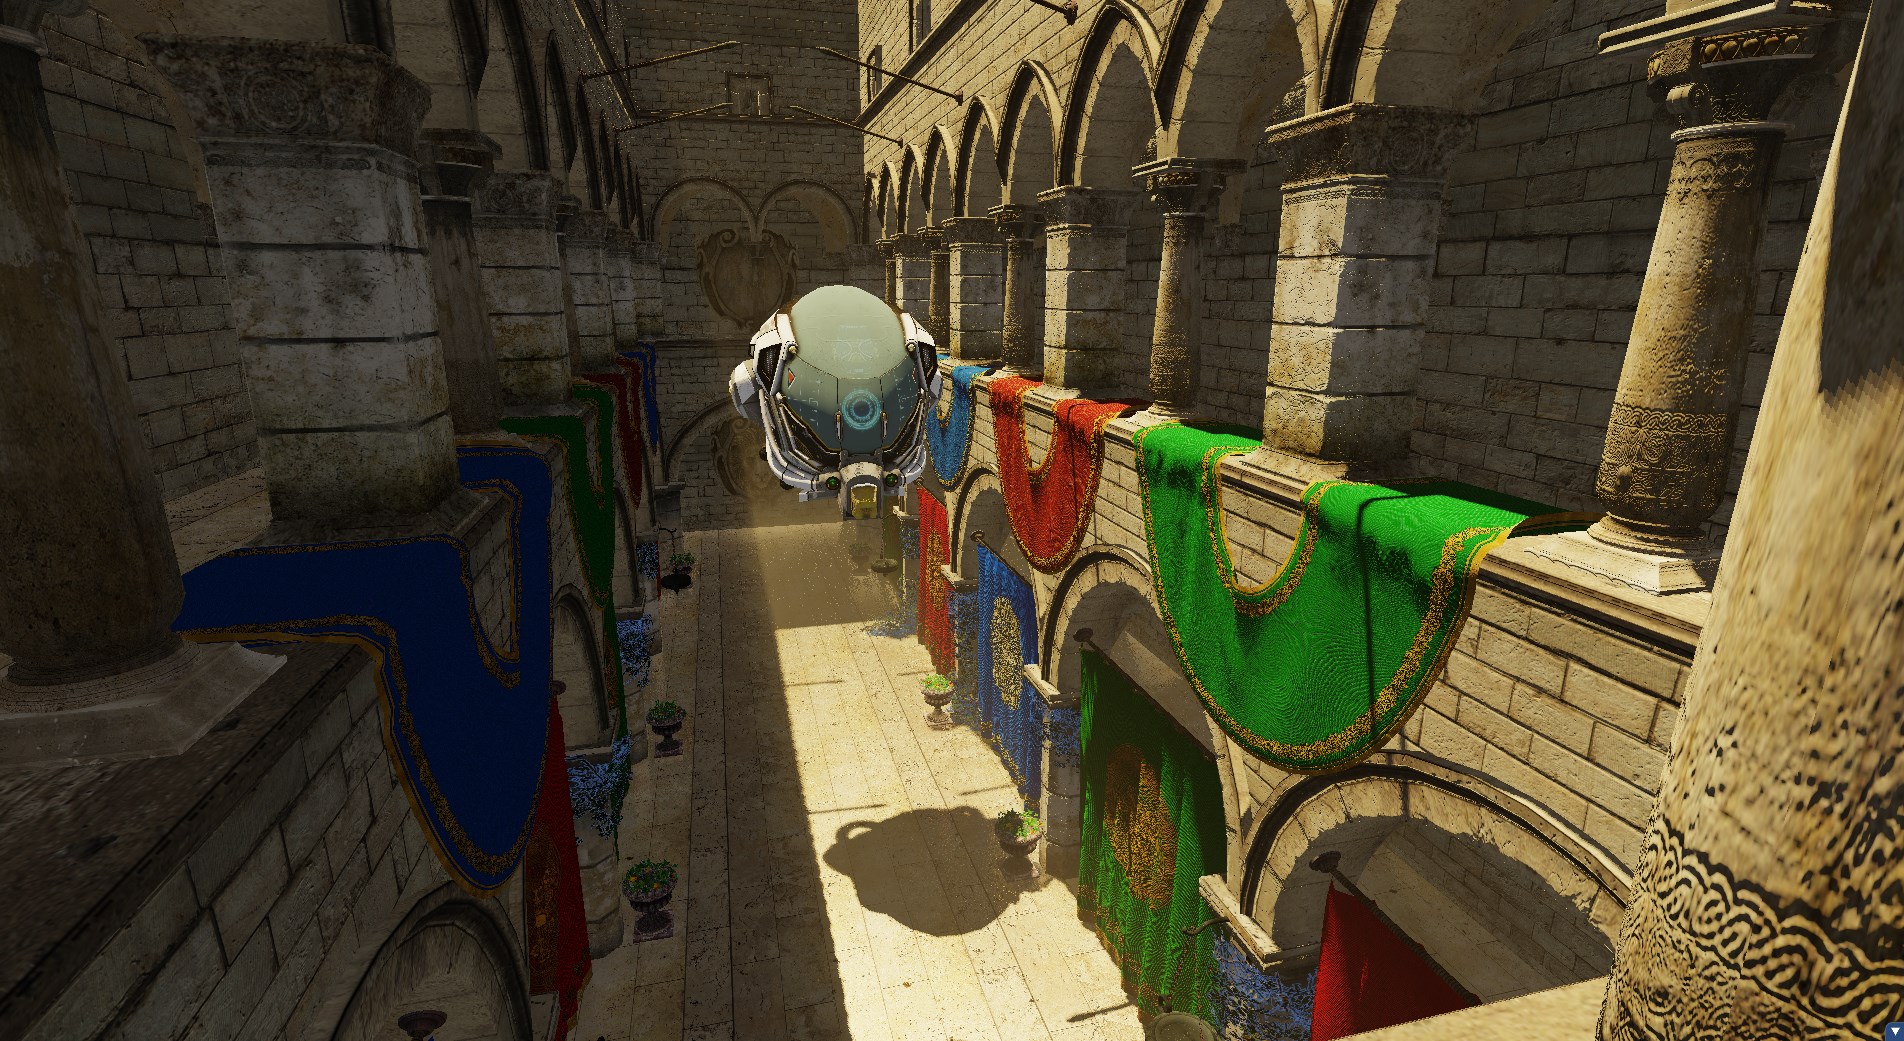
With normal maps:
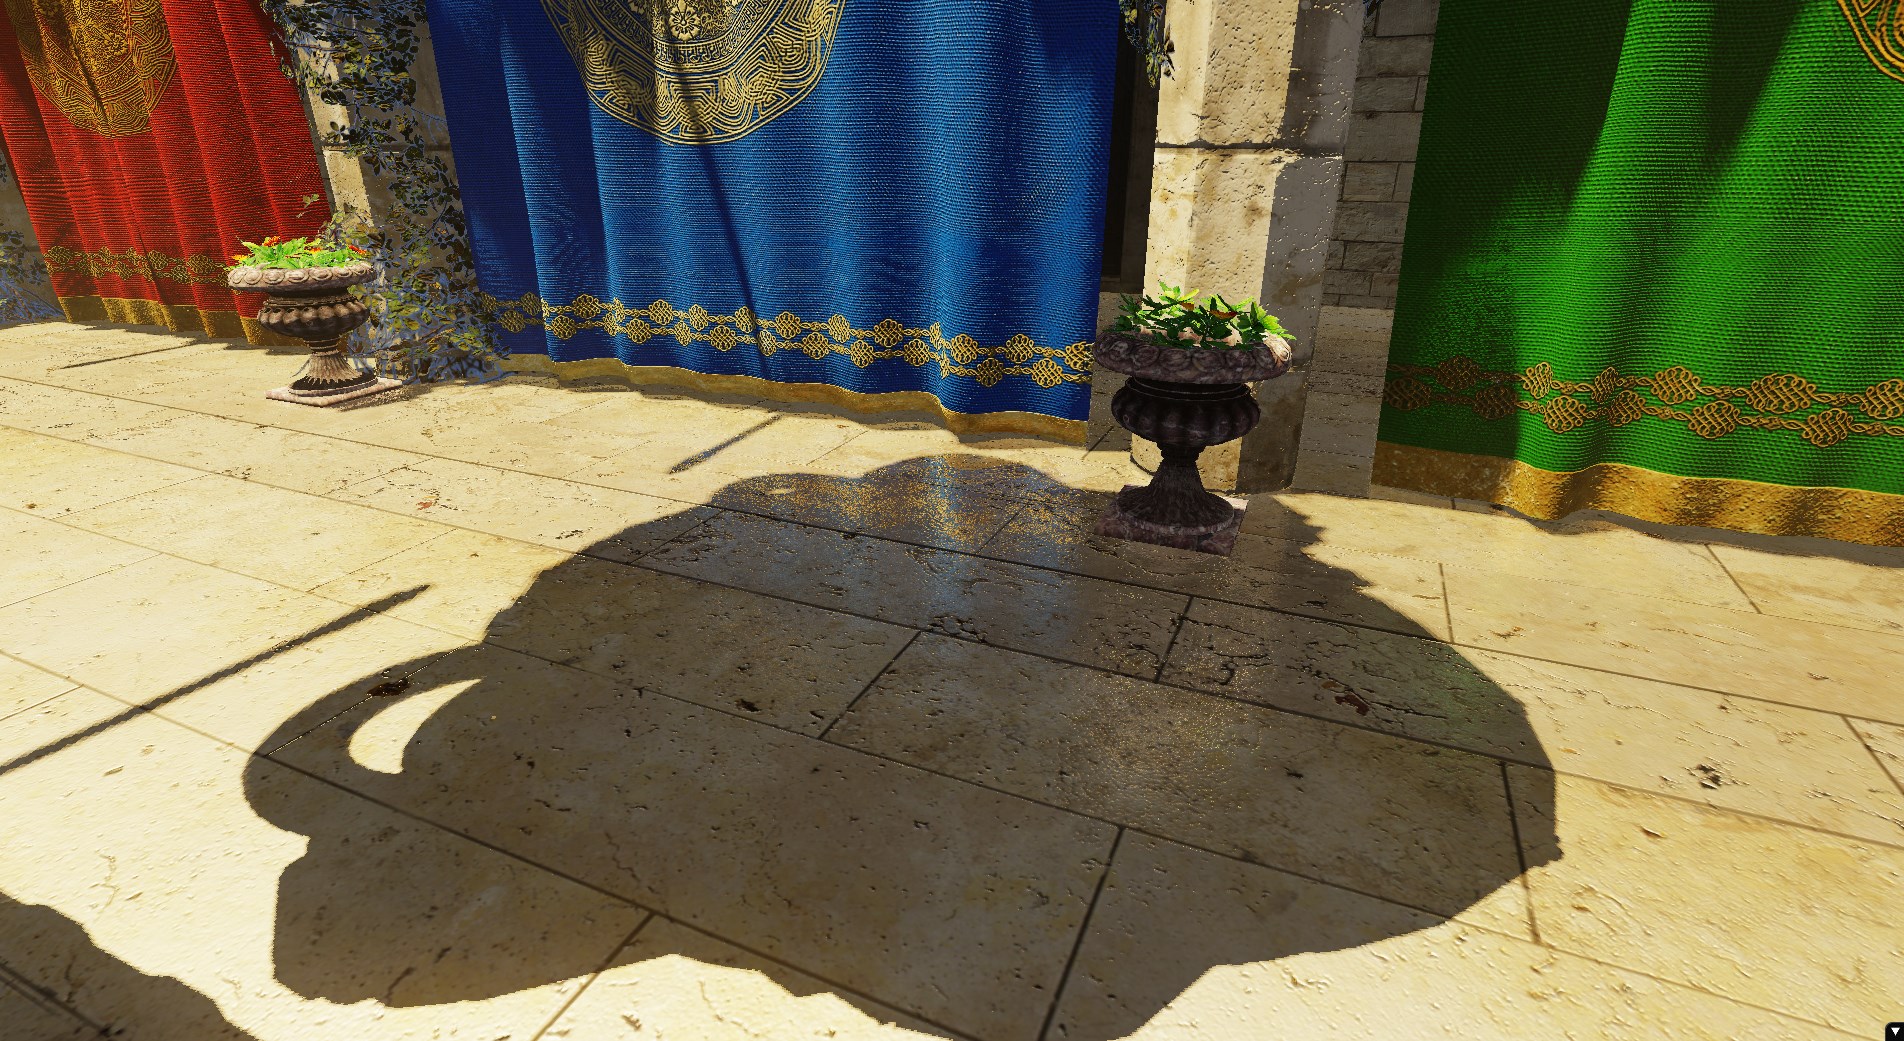
Without normal maps:
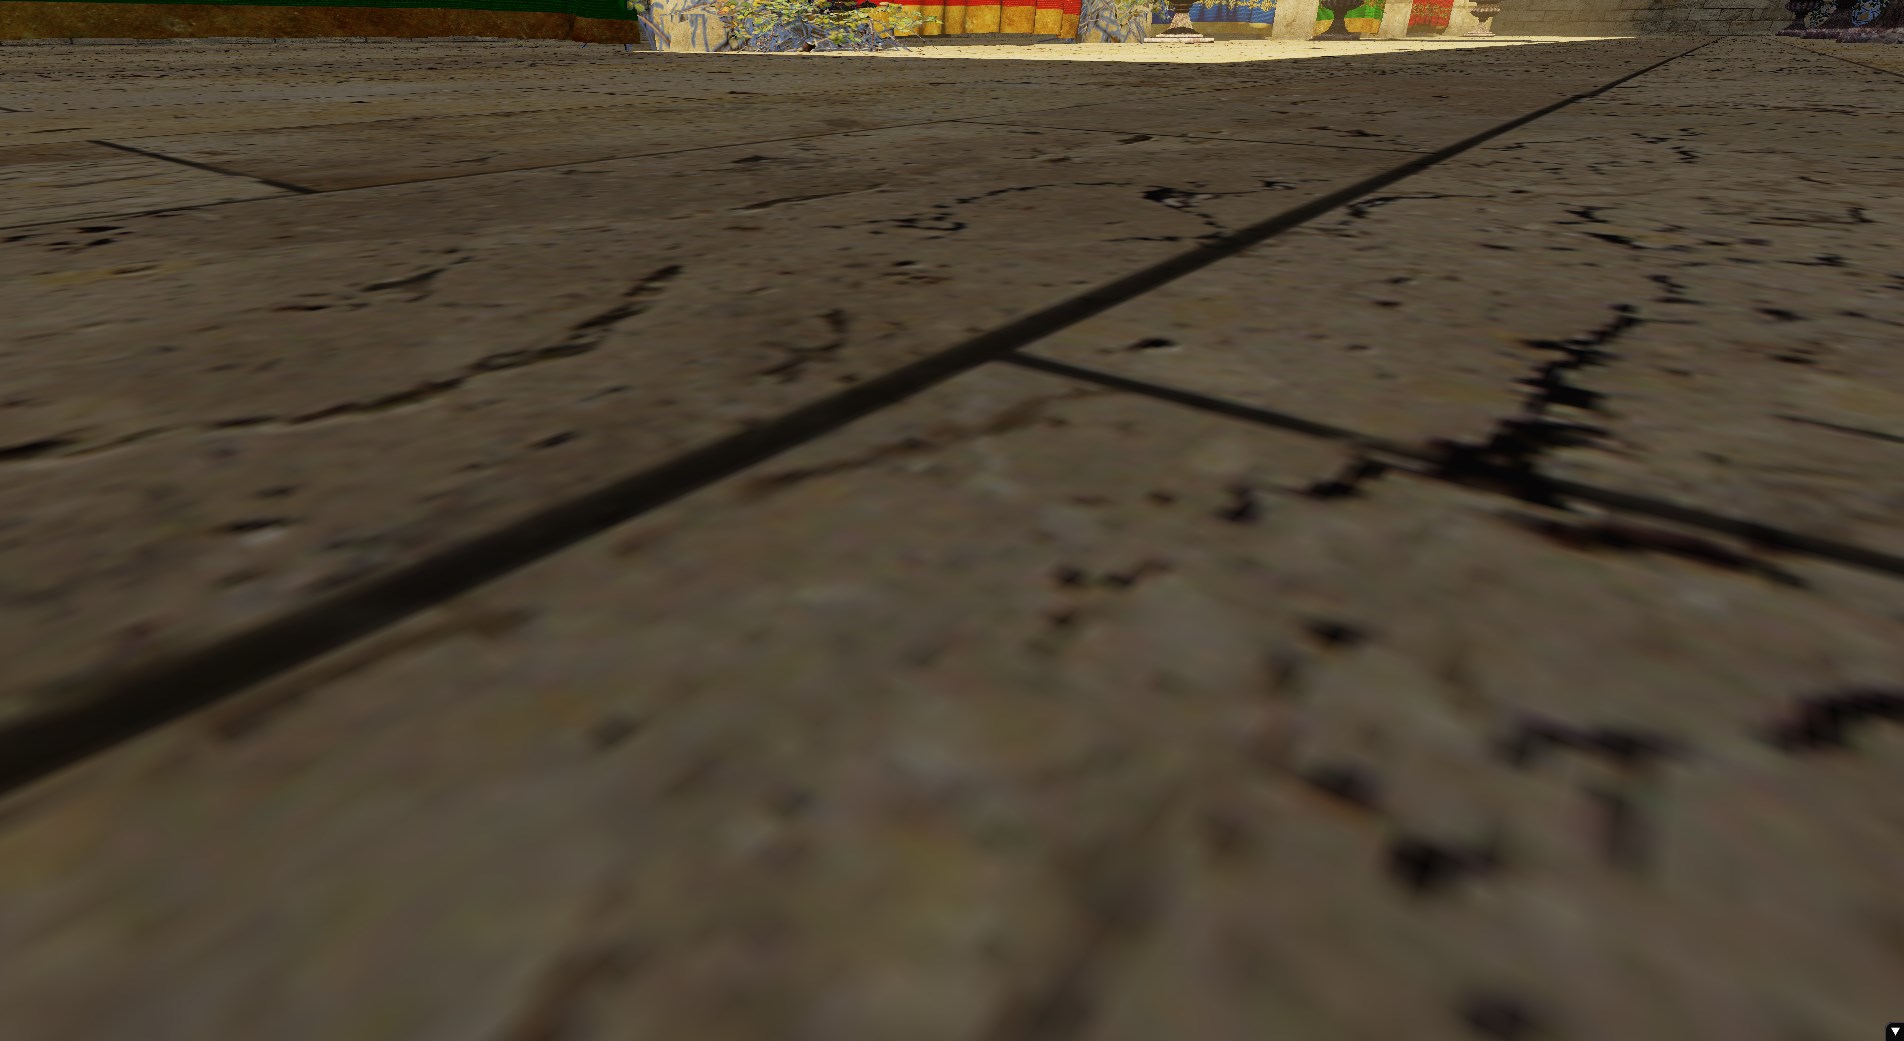
Here is a visualization with albedo and normal maps disabled, just lighting and the reflections:
You can see that there is some clear banding artefacts as a result of the ray marching step sizes. I figure this could be fixed by doing a binary search once the ray finds itself behind a surface, kind of like you’d do for search-in-P collision detection.
You’ll also notice that instead of the reflection cutting off sharply for offscreen pixels it fades out smoothly. This is done with a simple term that goes to 0 as the pixel distance (in viewport space) from the center of the screen approaches 1:
float attentuation_fade_term = 1.0 - saturate(length(ray_position_position_sample_viewport_space.xy));
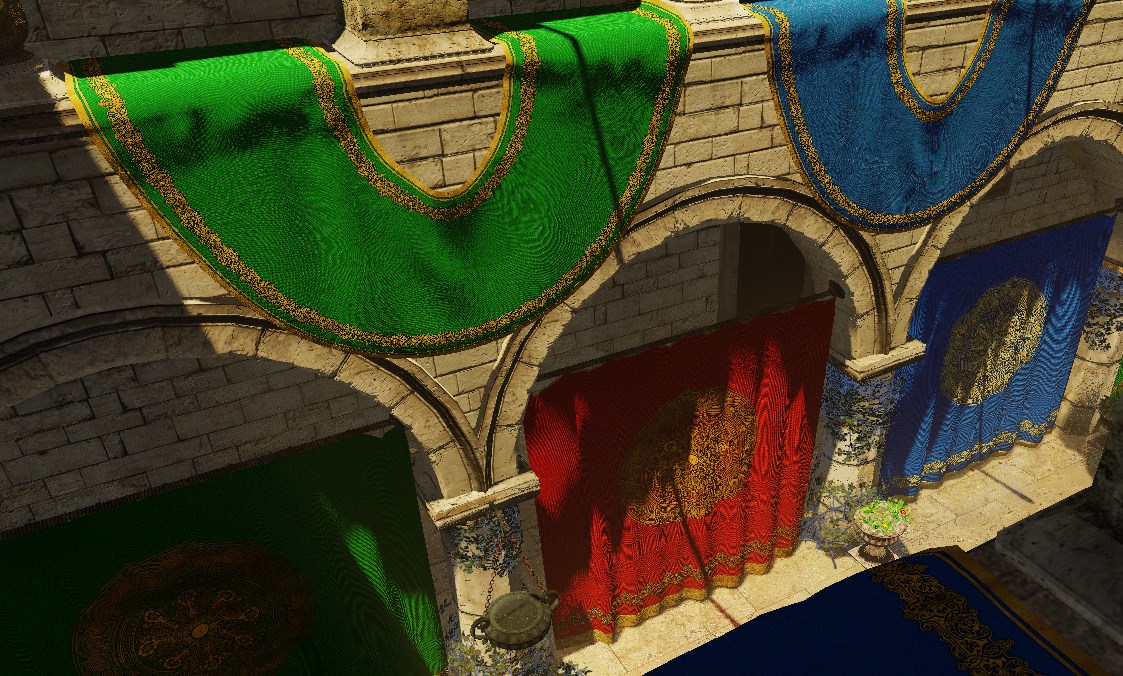
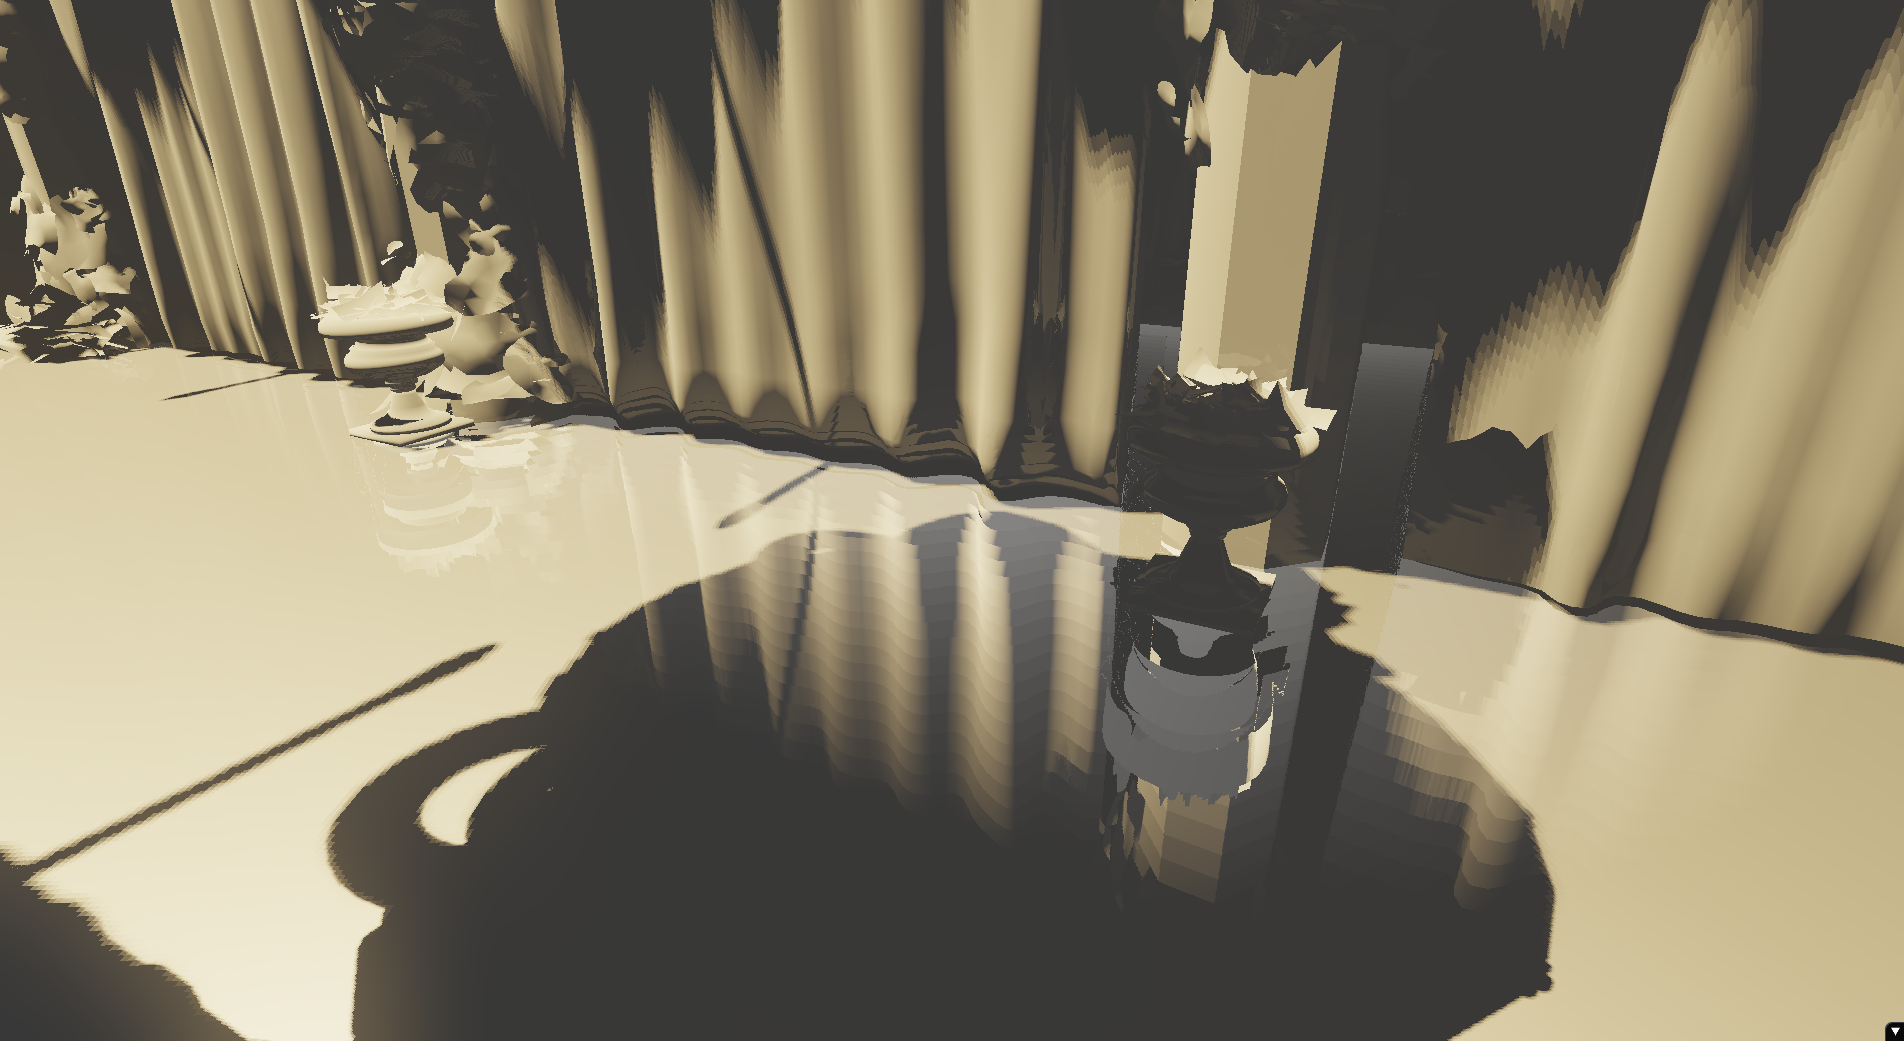
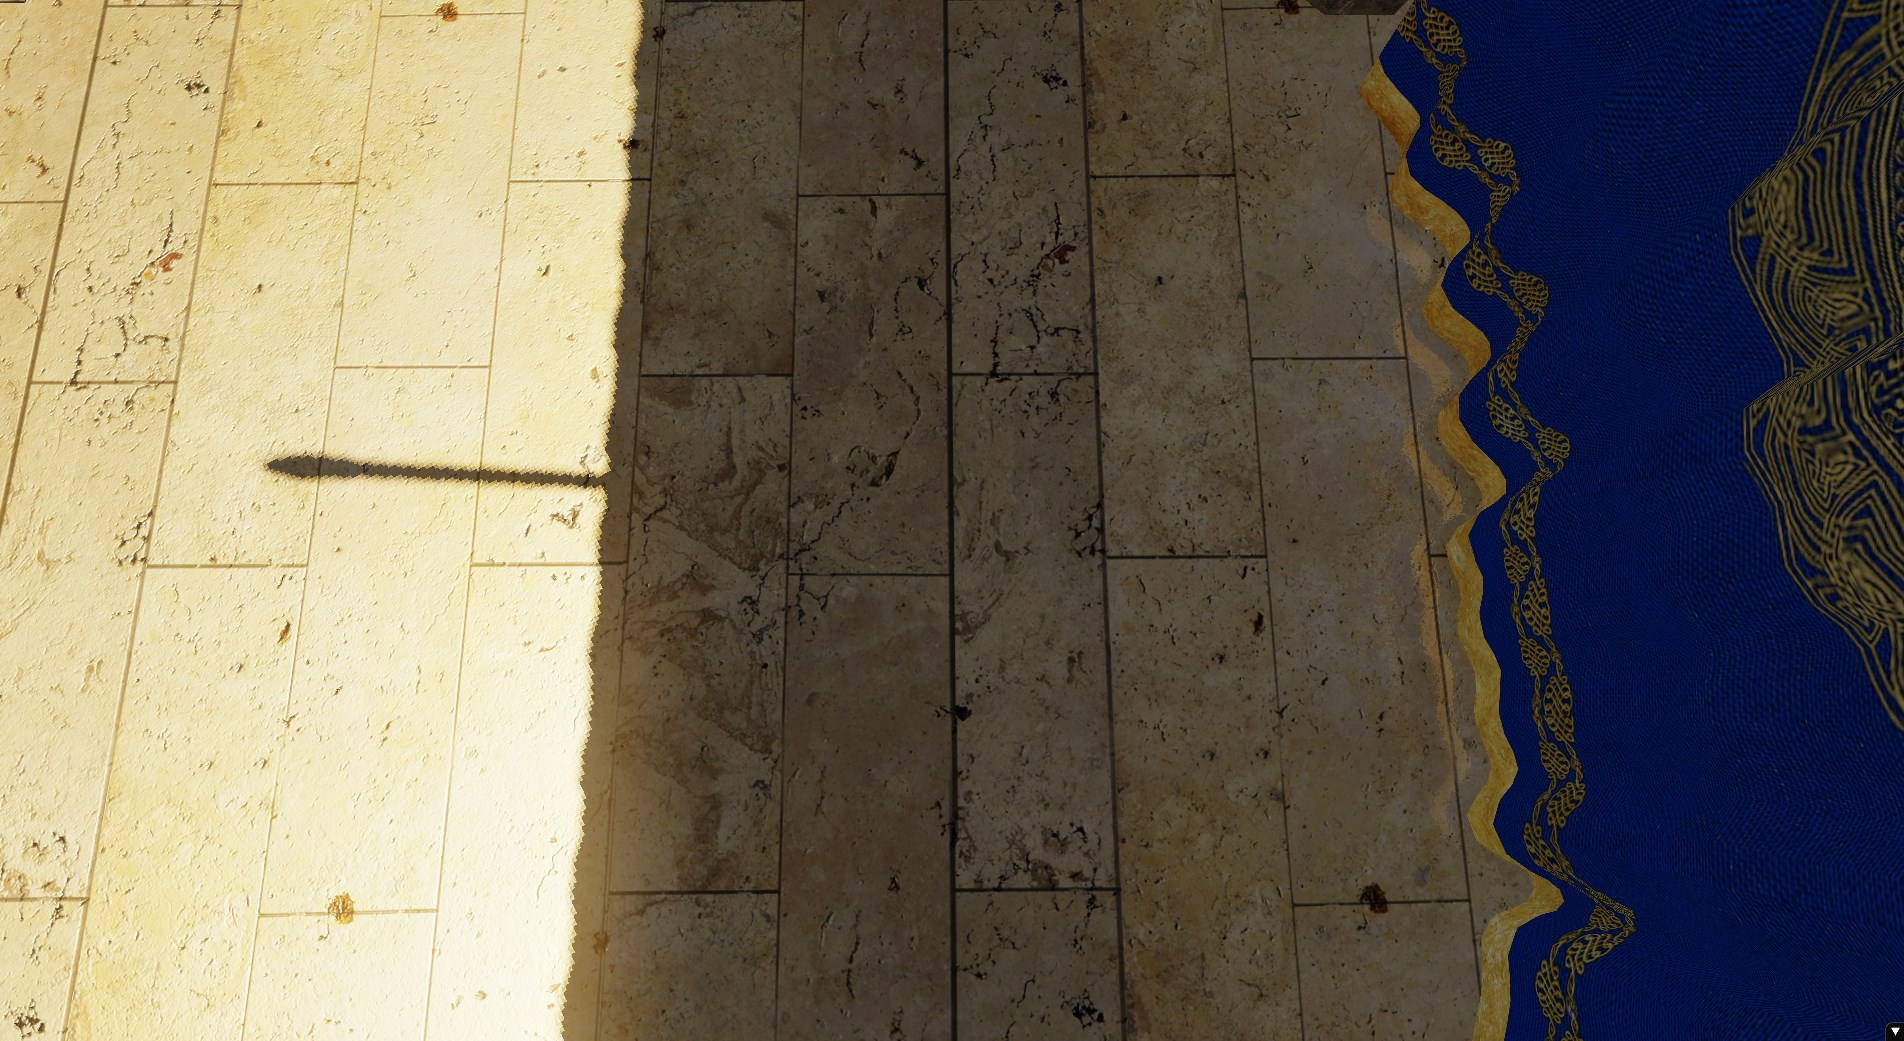
I figured screen-space reflections can be extended to do screen-space global illumination too just by sampling in a hemisphere around the pixel position instead of just reflecting the view direction, so I tried that for fun and while it ran at roughly 0.3FPS the effect was pretty nice for a naive, just-for-fun implementation. The header image for this post was taken from that test.
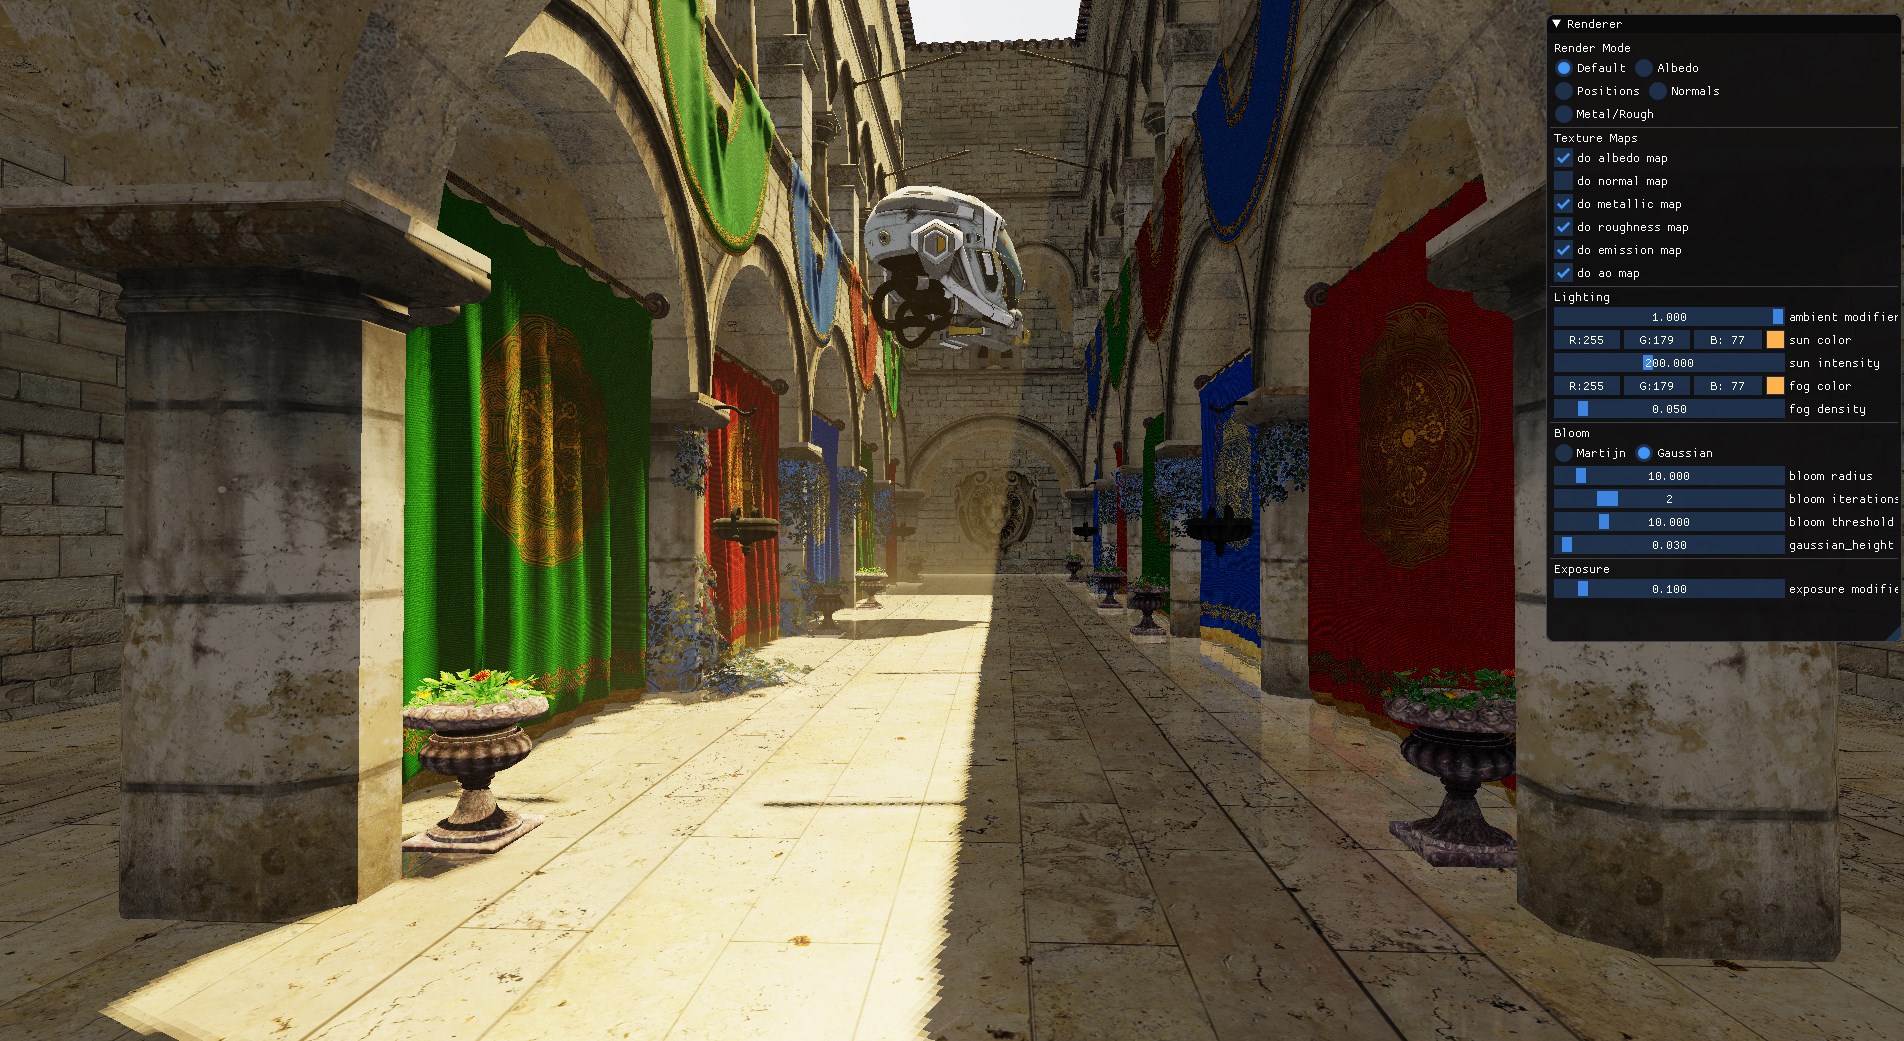
Bloom and HDR
Bloom is done by picking out the pixels in the scene that exceed a certain brightness value, blurring it, and then compositing it on top of the main render of the scene.
Here is the same perspective from above without bloom:
There are many things you can adjust to get the bloom effect you want such as the specific blur algorithm (the one above is a Gaussian blur), how many iterations of blur you want to do, the radius of the blur, and what the brightness threshold for blooming is, among others.
As for HDR, the scene is drawn to a floating-point render texture and I’m using Reinhard tonemapping in the final composite before drawing to the screen.
Auto-Exposure
Auto-exposure is done by taking the final render of the scene view and downsampling it to an 8x8 texture and then sampling the center pixel. The idea is that pixel is representative of the average brightness of what the camera is looking at, so you can use that information in the next frame to automatically adjust exposure over time, just as our eyes automatically adjust to darkness/brightness.
Notice how the composition is different depending on whether we are looking at something bright versus something dark:
Volumetric Fog
I implemented volumetric fog just as a fun diversion one evening. It’s implemented in a pixel shader as the following:
float total_density = 0;
const float STEP_SIZE = 0.1;
const int MAX_DISTANCE = 20;
float ray_distance = 0;
while (ray_distance < MAX_DISTANCE) {
    float3 ray_position = camera_position - direction_to_camera * ray_distance;
    float fog_amount = 1.0 - exp(-fog_density * (1.0 / (max(1.0, input.world_position.y - fog_y_level))));
    float factor = (ray_distance < distance_to_pixel_position && sun_can_see_point(ray_position, sun_transforms[3], shadow_map4)) ? 1 : 0;
    total_density += fog_amount * STEP_SIZE * factor;
    ray_distance += STEP_SIZE;
}
output_color.rgb = lerp(output_color.rgb, fog_color, saturate(total_density));
Not exactly the most physically correct thing but it looks pretty good for now. There’s a lot more that needs to be accounted for here (for example supporting light sources other than just the sun) and I plan on using this paper to get started in the right direction. I also saw these slides showing volumetric fog using voxels in the Frostbite engine which I may look into. I got the fog_amount equation (with some adjustments) from Inigo Quilez’s blog post.
Future Plans
Global Illumination
I’d like to use voxel cone tracing to implement GI. Some of the results I’ve seen from this are simply incredible. From what I understand the technique can be trivially extended to improve shadow maps and ambient occlusion as well which would be wonderful.
Example:
Improve Volumetric Fog
As mentioned in the fog section I’d like to improve the fog and make it more physically correct, as well as give that voxel-based approach a try.
Handle Transparency Correctly
You may have noticed in some of the screenshots that the plants have a blue edge around them. I am correctly drawing opaque geometry first and transparent geometry after but I think something is wrong with my DirectX alpha blend states. Additionally I still need to sort the transparent geometry such that meshes that are farther away get drawn first so that the blending is correct. Another concern is how this plays with shadow mapping; I know solutions exist but I haven’t yet explored them.
Mipmapping
As I mentioned above I’d like to fix the Moire patterns that are arising in high-detail textures when seen at a distance. Mipmapping can definitely help with this. Parts of this are implemented already but I need to go in and finish up the job.